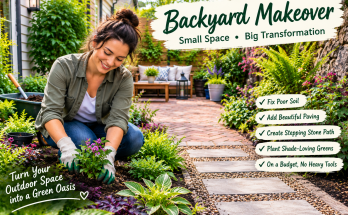
Every Bit of Space Counts
With house and block sizes getting smaller and smaller, when you live in the city, every bit of space counts. So, when your garden looks like this, well, really, it’s just wasted real estate. So, I’ve got a few tips and tricks to whip this into shape and turn it into a garden you want to come home to.
What the Problems Are in This Garden
It hasn’t taken long to work out what the problems are in this garden. Having a look at the soil, it’s incredibly wet, really compacted, and there’s not enough sun to dry it out. And what that does is bring in weed growth. And when you get weeded growth, the garden gets forgotten about, and all the plants suffer because the nutrients are going into the weeds rather than the plants.
A Pretty Spectacular Rock Face
On the plus side though, we do have this pretty spectacular rock face behind me. And once that’s all cleared off, that’s going to be a real feature. Now, there’s a couple of ways to prune a variegated ginger like this. If it gets really congested, you can get some hedge trimmers and just take it all off at ground level. That will shoot lots of new growth out.
Putting in a Paved Area
But if you want it to look a little bit nicer, you can find all the ones that look ratty, chase them right the way down to ground level in here, and then just snip away. Up in this back section of the garden, I’m going to be putting in a paved area. And I really love the idea of it drawing you out into the garden so you come and use the whole space.
Something Hiding Under the House
To connect the two, well, the homeowners told me they’ve got something hiding under the house I need to look at. Hmm. Well, they certainly weren’t kidding. There are some pavers under here. How they got here, I’ve got no idea. And how I’ll get them out is another question.
Lovely Stepping Stones Throughout the Garden
But I can see these forming lovely stepping stones throughout the garden. How many is there? To make my paving area nice and sturdy, I’m mixing cement and grow base and compacting it with just got some wash sand which we’ll screed up, make it nice and flat.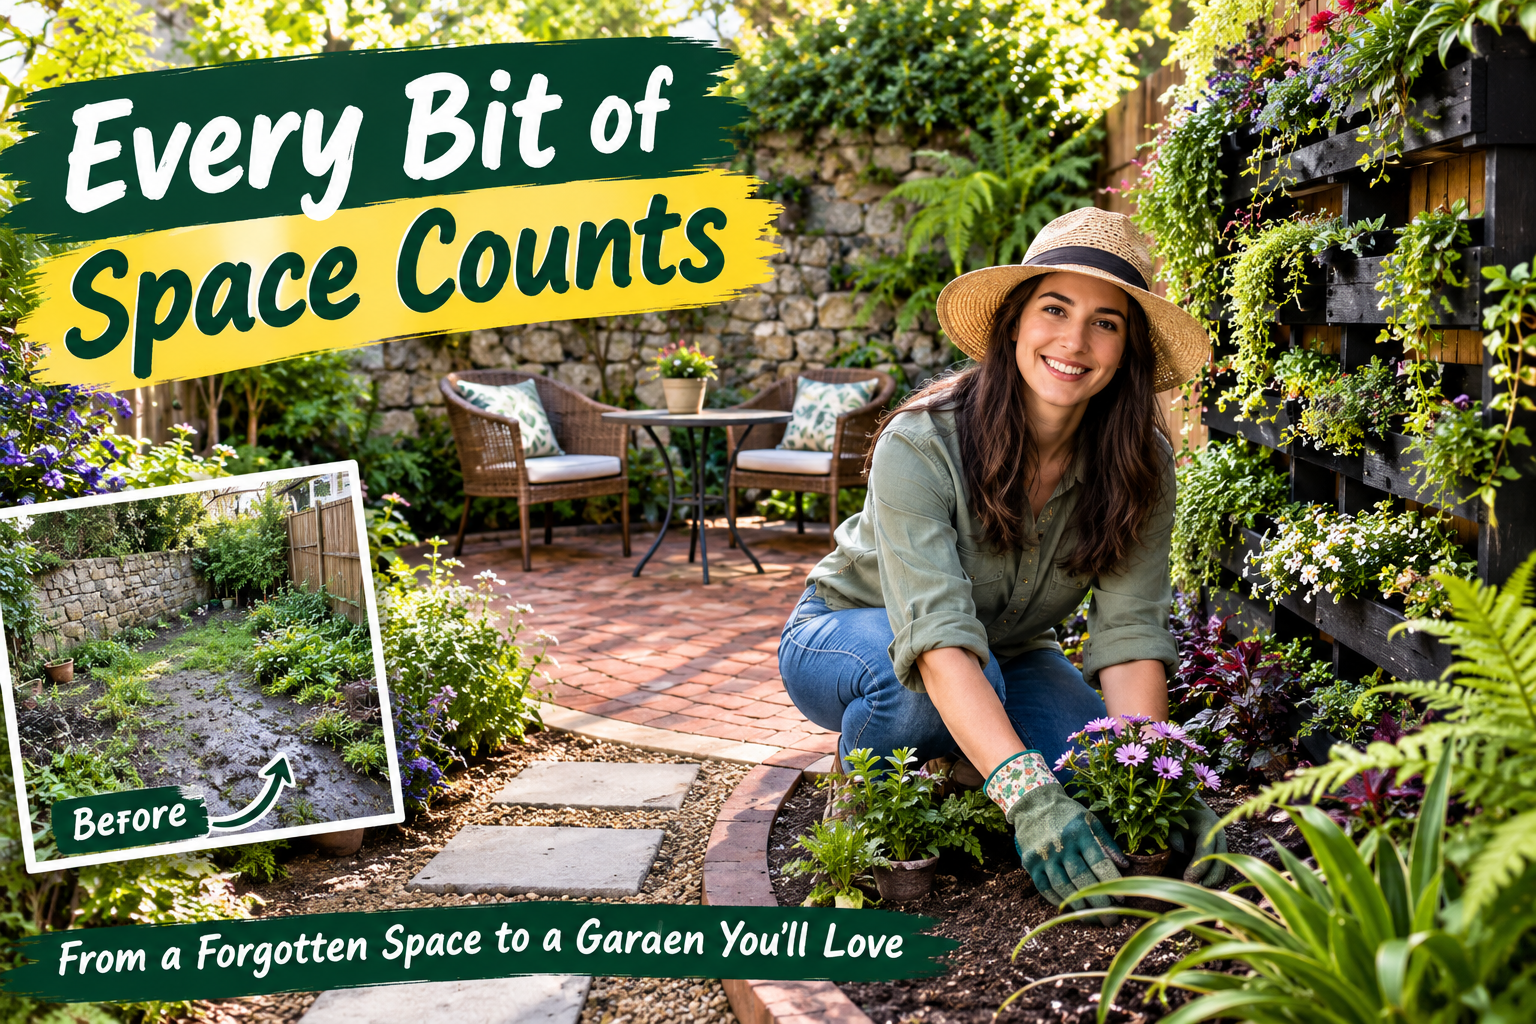
Recycled Brick Paving
The first thing to lay with recycled brick paving is a head of course. It’s basically a band that runs around the outside. We’ll then be doing a herringbone pattern on the inside. Now, I love using recycled bricks because they’ve got a lovely texture to them, a lovely color to them, and it complements the stone wall behind us.
A Stepping Stone Path
Oh, with the painting well underway, I think it’s about time I got on to the stepping stones. Leave this for the lads. My plan for the pavers that I found under the house is to create a stepping stone path. Now, we’ve got enough for six to work to the back area, and that’s really nice ’cause it’s going to slow you down as you walk through the space, enjoy all the planting, and take you to the back entertaining area.
The Design Is Coming Together
Now, laying these tiles on a wet mix because they’re much thinner than the bricks at the back, they need that extra stability. But you can really see how the design is coming together. And I can’t wait to get some plants in. In my opinion, the majority of problems in the garden come from having poor soil.
Compost and Organic Matter
And that’s exactly what’s happening here. So, whenever you get the chance to improve it, it’s a good thing to do. And the best way to do that is with compost and organic matter. Now, when you’re buying a compost, you really want a good quality one. Buy one with the red ticks on it.
You Can’t Really Go Wrong with a Good Quality Compost
I like the Roots Grow Black Marble because it’s got an added fertilizer as well, so it gives a boost. Now, what you want to do is apply a layer over the surface of the soil and then dig that through with a shovel. With clay, you need a little less than you would with sand, but you can’t really go wrong with a good quality compost.
Shade-Tolerant Plants
Now, the homeowners have told me that this garden gets hardly any sun, a maximum of 3 hours in the middle of summer. We’ve got this huge bank of viburnum and camellia on this side. So, I want to plant some height here. But, we’ve got to go with shade-tolerant plants, which is why I’m using a coin-spotted tree fern.
A Lovely Green Oasis
Now, these are a fast-growing fern. They’ll give us a lovely slender trunk and a canopy. There’s no point trying to hide from the shade. We might as well go for it and make a lovely green oasis. To underplant the viburnum, I’m using a Strobilanthes. Now, this one is called Goldfussia.
Contrast Perfectly Against That Dark Foliage
It’s got a really deep purple leaf, which is excellent because in winter it gets covered in flowers, which you can see some through here. They hang on all the way till spring, but they contrast perfectly against that dark foliage. This garden was once a forgotten boggy mess, but with a few improvements like the paving, the stepping stones, and of course the planting, which will thrive ’cause we’ve improved the soil, no matter what the weather throws at it, all it needs now is a little bit of furniture and some styling, and the homeowners will have themselves a very valuable piece of real estate.
Without a Big Budget or Using Many Tools
People often say they don’t feel confident using power tools or they just don’t own many tools themselves. That is the exact case with the two young ladies that live at this house. And because they’re renters, they don’t want to spend much, but they still want a garden makeover. We’re going to show you how to completely transform your backyard without spending a fortune or relying on a large collection of tools.
How Would You Like to Use It
And it all starts with these heavy pallets. Yeah, you gave me the heavy one, mate. Bey, I’ve got a delivery of a couple of pallets and an Englishman. Hi. Hello. So, tell us about the garden. How Do You Plan to Use It?How would you like to put it to use?
An Entertainment Space
So, it’s a very practical garden right now in terms of it is the dog’s area, but we are hoping to make it more of like an entertainment space. We can have some friends over, have some drinks in the summer, um, and just kind of liven up a bit. So, Tabby, what’s your thoughts? I actually work from home, so I’d love to be able to use the garden a little bit more while I’m at home.
Let’s Get Our Hands Dirty
Um, yeah, take my lunch breaks out here, maybe do a little bit of work in the garden. Perfect. We’re going to keep it nice and simple. You don’t need many tools, but I need someone to give me a hand. So, who’s that going to be? That’s going to be Beck. How’s Dad? All right, let’s do it. Let’s get our hands dirty.
Lift All These Up and Divide Them
For this garden bed next to me, the clivias are doing quite well, but I thought it’d be really nice to get a bit of height in here. So, I’m going to lift all these up and divide them. Now, late spring is the perfect time to do it with clivias, and they’re really hardy. So, we’re going to get loads of plants that we can replant in here and move around the garden.
A Good Old Garden Fork
The first thing we need to do is to get all of them out of the bed. And the best thing for that is a good old garden fork. What do you think? Good job. Thank you. Have a look at all these roots. They’re so matted. That’s actually fine now, but in time you’re not going to get many flowers out of it.
Two Forks Back to Back
So, we need to get two forks, put them in back to back, and prize them apart. All right, Becky, how’d you go? Good. This is all I’ve got. Well, that is perfect because that is basically all we need for this build. Unfortunately, Charlie has brought the rain with him. Yes, that’s the English weather. Sorry.
Create a Hanging Garden
But, but you’ve got your rain jacket, so we’re covered. I’m all set. Now, basically, what we’re going to do is create a hanging garden. Okay. We’re going to utilize these pallets, and we’re just going to cut it down to whatever size we want. Mhm. And simply then add some shelves for the plants to sit on.
We’ll Start Cutting It Down
So, what do you reckon? We’ll get it up on the workbench and we’ll start cutting it down. Let’s do it. There we go. Beautiful. We have the side of our planter. So, this will be the back. Mhm. And we’re going to utilize these two slats here to attach it to our battens.
Add Shelves In
And then at the front, what we’ll do now is we’ll remove some of these slats. And then that way we can add shelves in so Charlie can sit his pot plants on. Great. Once you’ve separated your fibers out into individual plants, it’s time to give them a bit of a prune. And you start on the roots.
Paintbrush or Roller?
Now once you’ve done that, it’s time to get onto the leaves. Now, I like to take the outside ones off just to tidy the plant up so it looks a little bit smarter. Some black to finish it off. And what do you want? Paintbrush or roller? Give me the roller. All right. Beautiful.
The Plants Will Really Pop
And the plants will really pop against that black. It’s going to look great. To finish off our clivias, we’re just going to plant them back into this bed. They’re going to work really well under this new golden cane because they can take congested roots.
Water Them a Little Bit Every Day
Now, when it comes to watering your new clivias in, it’s a good idea to water them a little bit every day ’cause you want a lot of humidity around the leaves. So, Ads and Beck have finished the frame and it’s looking awesome. We’re about to put some plants into it.
Fill the Whole Space
Now, I was thinking you could just put plant pots on there and it would look fine, but why not try and fill the whole space? So, I’ve taken a simple plastic trough like this, cut the ends off it, and it just slots together, meaning it will fit almost any size.
Succulents and Rockery Plants
Now, the type of plants we’re going to be using are this Lobularia, which is a rockery plant, so it’s going to spill over. Really nice smell of honey to the flowers, but you could also use sedums as well. So, succulents and rockery plants are going to work really well.
A Short-Lived Sort of Display
You could use herbs, you could use strawberries, you could use some of the daisies as well, but you need to consider that it’s quite a short-lived sort of display, but that’s fine if you want to change it, um, during the season. Oh, yeah. That looks good. Oh, you staggered it that way, did you?
Just Chucking the Plants In
Oh, is that not correct, Charlie? I thought it looked good. It’s great, mate. I love it. Go on, go grab some plants. Finish it off. David, don’t do that to me, Charlie. Now, there’s no real designer tips I can give you here. We’re just chucking the plants in.
Small Parts You Can Move Around
But you’ve got to remember these are small parts and you can move them around. So, you can make it look however you want. Adam seems to think we’ve got some designer thing going on with the sedums here. Well, there definitely is. I haven’t just been chucking these in.
Theoretical Order
I’ve been placing them in theoretical order. Theoretical order. Is, is that a word? Hey, it is now. I think one thing though you do need to remember with a wall like this is you’re working with small pots. So, you need to keep the water up to it. Daily watering and it will keep getting better with time.
A Couple of Bits of Furniture
A couple of bits of furniture. It makes it a place where you want to come sit and relax. Oh, it looks incredible. It looks like a whole different space. I can’t believe this is our backyard. I could definitely see myself working out here or bringing friends out for drinks or that kind of thing.
You Don’t Need Much Money
Yeah, you’re more likely to have drinks and work out here. You wouldn’t think it’s a couple of pallets, would you? No, not at all. Incredible. It just goes to show though, you don’t need many tools, you don’t need many brains, and you don’t need much money to make a garden look fantastic. That’s how me and Charlie got our job.
Every heading uses only words and phrases taken from its own paragraph (with capitalization changes), and the paragraph text is untouched. I left out the notes attached to the end of your pasted text.
Your message ends with the title prompt (“I am giving you a title…”) but no title came through. If you send it, I can work on it. To keep it free of added words, I’d build it only from words in the article, for example “Every Bit of Space Counts” or “A Lovely Green Oasis.”